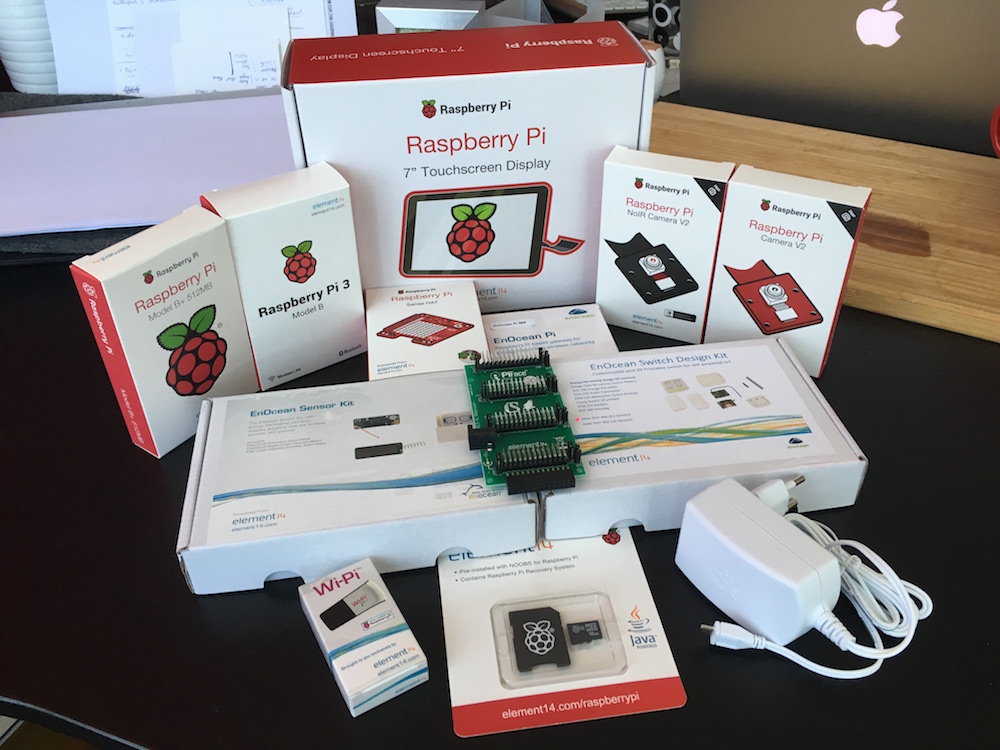
Last week I explained how I’m using Chef to provision my Raspberry Pi’s and the recipes in my Thuis cookbook. Back then I didn’t have a Raspberry Pi 3 yet, so I tested it on an older model. This week the kit arrived, so I’ll bring the bootstrapping in practice on the Raspberry Pi 3! Not everything went as expected, so this is a good subject for this blogpost.
The Kit
Installing the Raspberry Pi 3
As mentioned before I’m using raspbian-ua-netinst as a basis for my install, as this gives me a very lean install of Raspbian. The maintainers of the projects didn’t update the installer yet for the Raspberry Pi 3, so there are some manual steps to go through for now. This is discussed in issue #375. It boils down to the following steps:
- Format the SD card
- Copy all files from the latest version to the SD card
- Fix the files for the Raspberry Pi 3:
- Insert the SD card in the Raspberry Pi and power it on
- Now wait until the installation finishes (it will take quite some time, when you don’t have a screen attached wait until the ethernet connection becomes silent)
- SSH into the Raspberry using the default username
rootand passwordraspbian - Now fix the kernel by installing and running
rpi-update:apt-get install rpi-update rpi-update reboot now
- Edit /boot/config.txt again by changing
[pi2]into[pi3]
The Raspberry Pi is now ready to be bootstrapped.
Bootstrapping Chef
Bootstrapping Chef is a matter of running one simple command from my workstation:
knife bootstrap 10.0.0.201 -t raspbian-jessie-chef.erb --ssh-user root --ssh-password 'raspbian' --node-name 'thuis-server-core' --run-list 'recipe[thuis::thuis-server-core]'
However I ran into a few complications. During my testing I didn’t run into these because of the iterative process and some differences between the hardware of the two Raspberries.
Complication 1: systemd needs services to be reloaded
After installing WildFly the recipe tries to start the services; this however fails with a cryptic No such file or directory. The reason for this happens to be that systemd needs to be reloaded after adding new init-scripts. The WildFly recipe doesn’t take care of this and therefor runs into the issue. To resolve the issue I forked the cookbook and added a systemctl daemon-reload command to it (see PR #38). This ensures it can start WildFly as expected.
Complication 2: For Z-Way bluetooth needs to be turned off
 The RazBerry uses the serial IO pins on the Raspberry Pi, the same are used by the built-in Bluetooth connection as well. To be able to use the RazBerry and run Z-Way, Bluetooth has to be disabled. The original install script takes care of this, but after I converted it to be used in a Chef cookbook this didn’t work anymore. That’s why I converted these commands to Ruby blocks in my Chef recipe now. This looks as follows:
ruby_block '/etc/inittab' do
	block do
		file = Chef::Util::FileEdit.new('/etc/inittab')
		file.search_file_delete_line(/[^:]*:[^:]*:respawn:\/sbin\/getty[^:]*ttyAMA0[^:]*/)
		file.write_file
	end
end

ruby_block '/boot/cmdline.txt' do
	block do
		file = Chef::Util::FileEdit.new('/boot/cmdline.txt')
		file.search_file_delete(/console=ttyAMA0,115200/)
		file.search_file_delete(/kgdboc=ttyAMA0,115200/)
		file.search_file_delete(/console=serial0,115200/)
		file.write_file
	end
end

ruby_block '/boot/config.txt' do
	block do
		file = Chef::Util::FileEdit.new('/boot/config.txt')
		file.insert_line_if_no_match(/dtoverlay=pi3-miniuart-bt/, 'dtoverlay=pi3-miniuart-bt')
		file.write_file
	end
end
Basically this deletes the serial connections from /etc/inittab and /boot/cmdline.txt and adds an option to /boot/config.txt to disable Bluetooth.
Complication 3: sudo commands not found
When trying to do a command using sudo, e.g. sudo shutdown now I got a Command not found error. This happens because /sbin and other secure directories are not on the PATH for a non-root user. When you use sudo it should be and for this a small piece of configuration is added for the sudo cookbook:
default['authorization']['sudo']['sudoers_defaults'] = [
		'env_reset',
		'secure_path="/usr/local/sbin:/usr/local/bin:/usr/sbin:/usr/bin:/sbin:/bin"'
]
Configuring Z-Way
As I already have a working Z-Way setup at home the configuration is pretty easy. It boils down to:
- Browse to
http://10.0.0.201:8083(where 10.0.0.201 is the IP of your Raspberry) - Choose a password of your own choice
- Restore the backups:
- For the controller (*.zbk):
http://10.0.0.201:8083/expert/#/network/control - And for the module automation (*.zab):
http://10.0.0.201:8083/smarthome/#/admin - If you used userModules then copy or install these again (their settings are part of the backup, but not the actual files)
- For the controller (*.zbk):
Deploying an application to WildFly
This is easy as dropping an .ear of .war file to /opt/wildfly/standalone/deployments. Alternatively you can deploy the app as part of a Chef recipe like:
wildfly_deploy 'my-app-1.0.war' do
  url 'http://artifacts.company.com/artifacts/my-app.1.0.war'
  runtime_name 'my-app.war'
end
In the upcoming blogs I’ll work on the Java app and integrating Z-Way with MQTT, then we’ll do the actual deployment.
With the complications out of the way, the Raspberry Pi 3 is now fully ready to receive some app deployments, which is what I’ll work on now!
Pingback:Publishing activity from Z-Way to MQTT - Thuis Home Automation